Monday, April 19, 2010

Creation Updates

That's all I got....because I can't come up with a catchy or funny title at the moment :oP

If you're a fan on facebook....this may be a repeat.  I share my latest creations on there as I make them and have giveaways often.  I have given away 2 outfits now and will have another giveaway once 400 fans have been reached!

Visit me here:  
http://www.facebook.com/pages/Bunny-Lane-Designs/251709707887?ref=ts

Etsy shop will be open soon, I've been sewing like crazy in order to stock up items and will have them up beginning of May.  Items will be available for purchase on my website of course as well as my storefront on Facebook and last but not least Etsy.

Lots of pics, I've been slacking on the blog post, but here are some of the latest creations:


Ruffle A-Line Dress
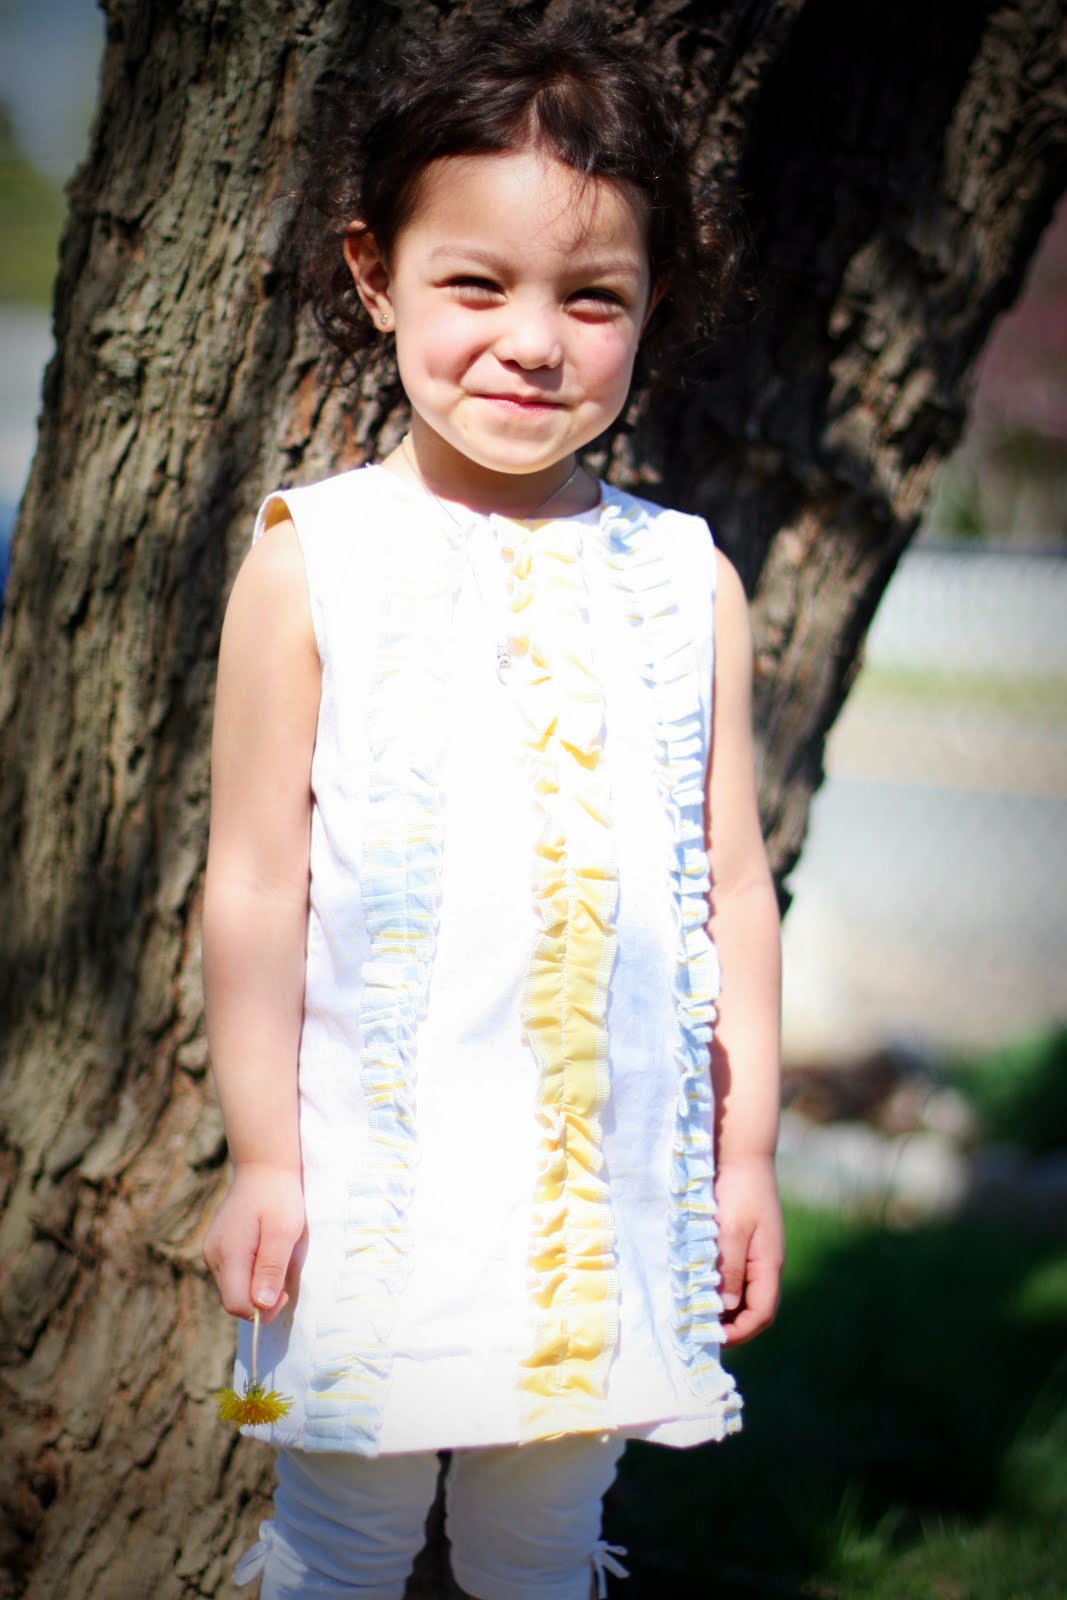


Ruffle Skants with  Ruffle tank


Because we can't forget the boys....matching ties including Daddy

Finally getting to cut into super soft Little Folks by Anna Maria Horner

My 300th Fan Giveaway winner received this Ruffle Bubble Romper


I created this quilt designed by Vanessa Christenson of V&Co. and donated it to the March of Dimes


Altered Pillowcase dress with Ruffles---my 200 Fan giveaway winner received this :o)

So that's it for the show & tell for now....Be sure to check back and also visit my facebook page to be notified when the next giveaway will be!


Photobucket

Thursday, April 8, 2010

Ode to my Ironing Board Cover

Oh Ironing board cover you and I have been through a lot--many great fabrics have been pressed, beautiful creations have started from that first press and bursts of steam from our best friend Oliso, but I couldn't protect you from the tornadoes, you know them well A.K.A. Isabel & Gabby.


from the numerous of times you've had a taste of chocolate, been smothered with chapstick, received drops of honey and peanut butter, who knows what else.....


 you've been washed, rinsed, spun and dried plenty of times your skin pilling and fibers have been separating, but we still cranked out outfits and quilts you, my beloved ironing board cover and I.


Alas, it was time for a face-lift, one that I should have done a long time ago.....


I hope you like your make-over.  I surely do, makes me want to iron clothes all day on you  :P

oh how it's just the little things that make me happy nowadays.  I highly recommend everyone creating their own ironing board cover, it's guaranteed to motivate and inspire :o)
Photobucket

Monday, March 29, 2010

On Top of the World

Week 13 - “Dramatic B&W” Photo Challenge!

Another I Heart Faces Photography Challenge!


I took this picture during my mom's group outing.  I happened to see him standing as he is in the photo with a pouty look, after I asked him to smile, that's all that I was given. This is the original photo.


With a little editing magic, I was able to create my "Dramatic" photo:


Good luck to everyone that enters!  I'll be back with more sewing projects that I have completed since this IS my sewing blog and quite possibly a tutorial :o)

 Photobucket

Monday, March 22, 2010

I Heart Faces--Focusing on Angles

A photo challenge:

I am by no means a Professional Photographer, I wish I was though :o)

I came across the site "I Heart Faces" site through several blogs and thought I would go ahead and participate.  I take pics pretty much everyday whether it be on my creations, my children or just random people and things that I see during my travels.

Week 12's focus: Angles


 I was lucky enough to be invited by my sister to photograph a very special moment as she proposed to her long time partner.  I was shooting from below looking up at them and it made Jen (on left) look like she was flying.  I was really pleased with how this and several others that I took turned out.  

That's my entry, fingers are crossed---there were too many awesome pics posted there!  Everybody is so talented!

Photobucket

Thursday, March 11, 2010

Distractions.....

So much for posting flower tutorials, I knew my  kids wouldn't allow enough time for me to post daily on my blog, or do really much of anything except clean up after them 10x's a day!

I'm so behind on orders, I apologize if you're one of my customers reading this..... it's really tough to find a decent amount of straight sewing time to finish when you have 3 little ones running around, my 4th who helps a lot when he gets home just can't do it all and they run circles around him :)  He's a big help though.

I did manage to make an outfit for my daughter using Patty Young's Julia Pattern and then created my own top and used the Jack and Jill Hat Pattern by Izzy n' Ivy--it turned out so cute and I sent a sneak peak to my customer who was thrilled--she only chose the fabrics and said "something funky".  I hoped it was funky enough :)

The clothing creations:


My favorite hat


Working on my photography skills :)

Doing the "uh-oh" from Cloudy with a Chance of Meatballs :)

Gabby modeling and loving the pettiskirt I made for her

                                                                  ***Twirling***

***Cheesin'***

More on the way as I am able to create.  Just had to share.  I've even got some of my own creations coming that I hope to have a tutorial for ***fingers crossed***

Photobucket

Thursday, February 11, 2010

Day 6: Rounded Petal Fabric Flowers

Day 6: Rounded Petal Flower


Gather up your supplies--you will need scraps of fabric, needle, thread, scissors and your choice for a center.

Look to your stash--I have a tote full of 2x2 squares which will create a 2 1/2" flower, use larger squares for larger flowers.

1.  Cut your pieces of fabric into 5, 2x2" squares


2.  Fold each square in half to form a triangle and press with your fingers or an iron


3.  Take your needle and thread it long enough to be able to sew through all triangles.  Start on the right side of the triangle with the point at the top and continue to the other raw side of the triangle.  Pull tight and you will create the petal.  With the same needle and thread continue with the other triangles.


When you have sewn all the petals sides and pulled to form the petal, you will need to sew petals 1 and 5 together.  Take a couple of extra stitches to secure.


Now turn it over and close with your center.  I used a covered button on mine.  Notice the different fabrics?  Like a knuckle-head, I was transferring the photos to my computer and managed to only send my finished pic and deleted the rest :(  So I had to start over.---Nonetheless, it was completed again :)
Again, attach to your favorite place....you all know where mine will be :)
Photobucket
Related Posts with Thumbnails